Showing posts with label landscape. Show all posts

3 Aug 2013

Landscape photography - my approach to increase the chances for a successful session

In the previous post I have written about my not so successful approach to photograph a specific landscape. It gave me some food for thoughts about the more systematic approach to the landscape photography that would increase my chances of taking a good picture (or pictures) during the session.
Here some of my findings so far, that have worked during my last two sessions and I will keep using them in the future.

Choose the theme, scout for a location

I found out that pre-selecting the theme in advance helps a lot to keep on focused during the whole process. For instance, for my last two sessions I took the river as a main theme. It limited my location scouting area to the banks of the rivers I wanted to photograph. But why is the scouting important at all? Isn't it just enough to select a point on a map, go there and try to take a shot? In my opinion, it does not work because it introduces too many uncertain factors during the actual shooting resulting in less time spent on actual photographing and composing the pictures.

I start scouting by determining a time of the day of the session. For instance, knowing it will be in the early morning I can start looking for a right place being in a radius of, say, 1 hour car driving. Once I know the approximate location, I start studying the maps of the area to determine the following aspects:
- is the terrain accessible for walking?
- how far from the location can I park the car?
- what would be a location of the sun at the location?
While first two questions are more technical, the third one requires some kind of pre-visualisation of the scenery I'd like to photograph. I wanted to take some photos where the sun would be directly visible on the picture, together with a river and its banks and a deep perspective. And I wanted to take photos at dawn. It determined the orientation of the river in the approximate direction of  east-west. 
To make it more accurate, I also checked the azimuth of the rising sun at the planned day of the session. To determine the azimuth of sun I use a smartphone application called Astroid which is simple to use and accurate (other applications, like Sundroid would also do the job). 
Having all those factors in mind I started studying the maps (by using Google Maps) looking for the proper location:
Don't forget to check if the Street View mode is available for a given location. It can give you a lot of information about the terrain.

Be on time, have a reserve location (plan "B")

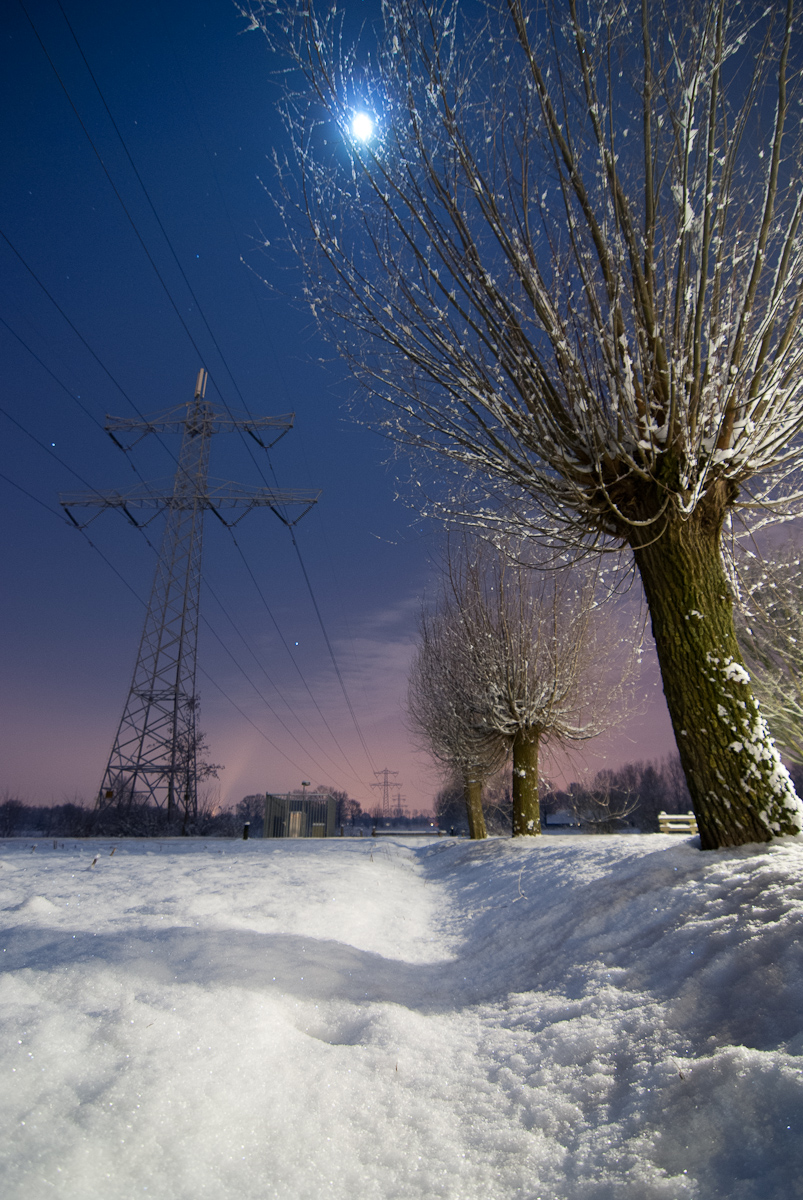
It doesn't matter how well one prepares the location, the actual situation can be unattractive and disappointing for shooting. So it was in this case. On location I have found really flat, boring landscape:
Since I have planned my trip to be on location about 45 minutes before dawn, I had some time to take a corrective action. I knew by studying the maps that a few kilometers further there is another place with different landscape. So I took a quick decision to get into my car and go there. And there I have found the good spot:

Look around, think about future sessions

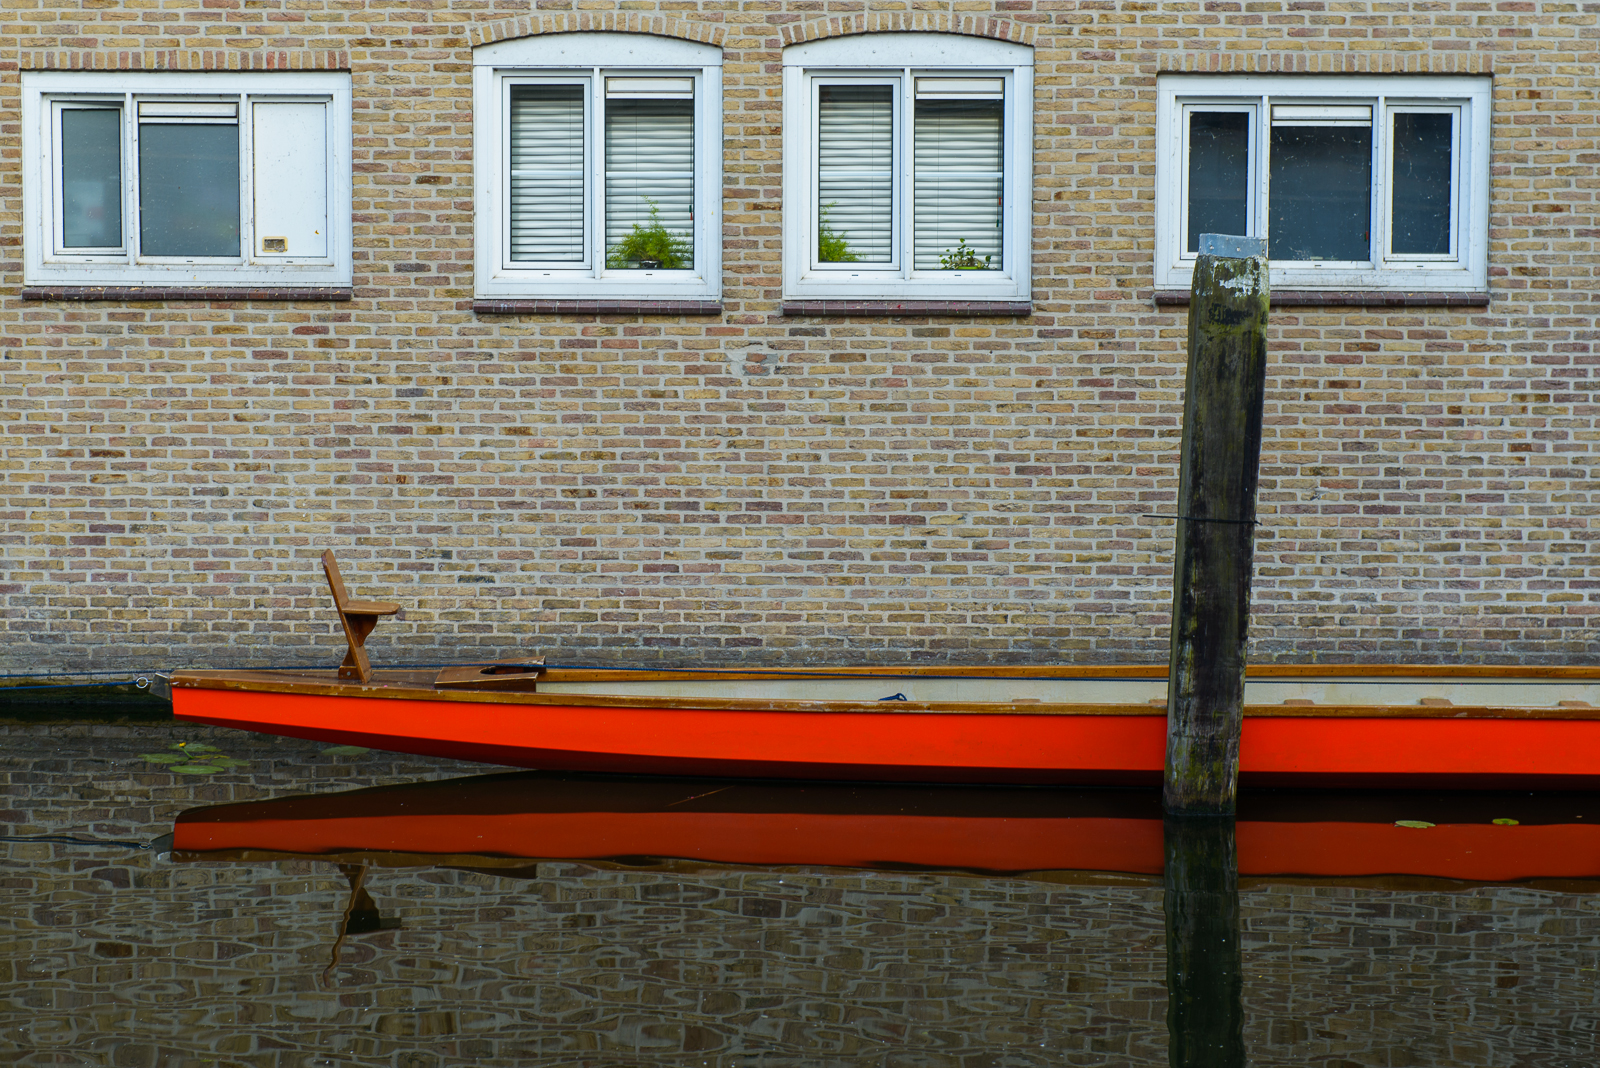
After the main shooting was done, I have taken a small round-trip ride in the neighbourhood of the location looking for the interesting places. And I have found enough places to plan another assignment:


Take notes after shooting

After successful session I take notes describing the places photographed, conditions on location, conditions in which a photo has been taken. I do it on the day of shooting, after coming home, while the memory is fresh and full of details.


31 Jul 2013

Sometimes ideas just don't work. Or: good landscape photo starts with a good landscape

Every now and then I give a small photo assignments to myself, just to practice the technique or explore new areas of photography. One of my latest "challenges" was to photograph a lonely tree that would be good enough to be added to my portfolio. Why such theme? Well, it is a nice and can be used in practice, for instance to create a postcard.
Since I didn't have much time to do extensive preparations, I took a walk in my neighbourhood to find a candidate scene. It looked good enough to give it a try.
Few days later I organized a small session. The general scenery looked like on the photo below:
 
There were at least few problems with this photo: first of all the tree wasn't 'lonely'. Second, there is a lot of unnecessary noise in the background (like power lines). To make it more interesting I've first tried to incorporate more sky, making it more dramatic by using a polarizing filter.
Was it better? Not really. Now I have even less interesting picture than before. Last try was to go back to the first idea but take the photo from a bit lower angle of view:
Mhmm. Slightly better, but not something that I really wanted.
Then the moment of reflection came: It does not really matter what I would do, the scene I was trying to achieve was not the scene I envisioned: the tree was not 'lonely enough' to compose the picture.
So I packed my gear and went home. 
Disappointing, but one the other hand I took important lesson: good (great) landscape picture starts with the great landscape. 


11 Mar 2012

Looking back on own photos - do I improve?

Recently I have scanned through the old photos I have made over past years to sort the tags out a little bit.
Then I came to the idea: if I take the photos belonging to a certain category and put it on a timeline, will I see any trend? Will I see improvement of my photographic skills, for example? Is there anything that I could name as a 'constant element', a style?
So I took the photos tagged as the 'landscape' and taken in years 2007-2012. And it was an interesting excercise. Some observations:

  • Composition of my landscape photos improves over the years. 
  • I need to work on making the landscapes more interesting. I have a tendency to leave too much empty space in the photo, making the picture not as interesting as it could be. How to improve? Studying work of the best in business, scout for the better landscapes is the plan for the coming period.
  • The lighting on most of my pictures is, well, not so good. Here the remedy is simple, I think - get up early, be on a location at the sunrise. Also something easy to try.
To summarize: it is worth repeating this excercise more frequently, it definitely helps. 

4 Feb 2012

Experiences with night (and winter) photography

Since winter came finally to The Netherlands and it rather doesn't stay long here, I'd like to take each opportunity to take some winter pictures. This week due to the other assignments I hadn't time to shoot during the day. So the idea was to try something new - night photography. I'll not be writing about the obvious, like: use tripod, take longer exposure times etc. Instead, I'll show a process of getting to the final pictures with some learning moments.
First photo was taken in the city in a park. As one can see, no much color there, so in post processing I added a bit saturation to the greens and oranges to emphasize the tree which is reflected in the water a little bit. Another trick here is a vignette to let the tree come more to the foreground.
Another remark: as one can see the sky is white here. Well, in the real life it is not the case. Nowadays because of using sodium light for the street lighting the sky gets orange-ish color looking pretty ugly (at least almost) if you ask me. In this case simple white balance correction over the whole image solved the issue.
Then another scenery, from last Friday. The snow was fresh, it was cold, there was almost full moon, so probably good conditions to take some pictures. I took two lenses: Tokina 11-16 and Nikons 18-200 with me. Then I started shooting with the Nikon lens:
Original idea was to get a lonely tree in the picture and let the snow be good emphasized. The result is, well, not as I wanted. Then I have noticed a nice cloud formation above the tree. Another lens (switched to wide-angle Tokina), another effect:
Since the photo has been taken at the outskirts of the city, the light pollution effect was much less and I didn't  have to correct it. In contrary, here it worked in my advantage, creating an interesting gradient from dark blue to orange.
Then some learning moments: 
1. Forget the auto-focus (at least it didn't work in my Nikon D80). Manually focusing on something specific is also problematic, because you don't see much through the viewfinder. Then focus on infinity and you should be fine in such situation. But: in which direction should I turn my focus ring? Which brings me to the next point.
2. Know important aspects of your engine. When it's dark you need just to know how to setup basic parameters without having to look too much. In my case I used my smartphone to enlight the lens and choose proper focusing distance. But when you do it at -12 degrees it is not fun. 
3. Take a light source with you. In my case a smartphone was enough

Then another sceneries. This time I wanted to capture the moon:
 Here again the clouds help to make the picture a bit more interesting. And I liked the composition with the power lines (this is something I cannot deny - I like them). Another picture with power line:
Light is coming from a street lantern.
Finally, some shots from the city, at a channel. 
I started with quite wide-angle scene but then I decided to narrow it to emphasize the ship more.
 Last picture I liked because of the mixed colors created by various lights.
 Some last remarks:
After shooting in the snow think about your engine aftercare. Snow is nice, but snow is just water. So unfold your tripod at home, let it dry for couple of hours. The same for lenses and body. Take it out of your bag, put on a desk, let dry. Let your bag open as well and let moisture evaporate.